Importance of EV Charger Installation
With the rising popularity of electric vehicles (EVs), installing a dedicated EV charger at your home can provide numerous benefits. Not only brings convenience by allowing you to charge your EV overnight, but it also ensures a faster and more efficient charging experience. In this tutorial, our EV Charger Installation Tutorial, providing you with a detailed step-by-step approach to make the installation process seamless and hassle-free.
EV Charger Installation Preparations
Before starting the installation process, there are a few important factors to consider and prepare, such include:
1. Assess Power Capacity
The first step is to assess your electrical system’s power capacity. Make sure your home’s electrical panel has enough capacity to handle an additional high-power appliance like an EV charger. Consult a licensed electrician to analyze your current electrical setup and determine whether any upgrades are required.
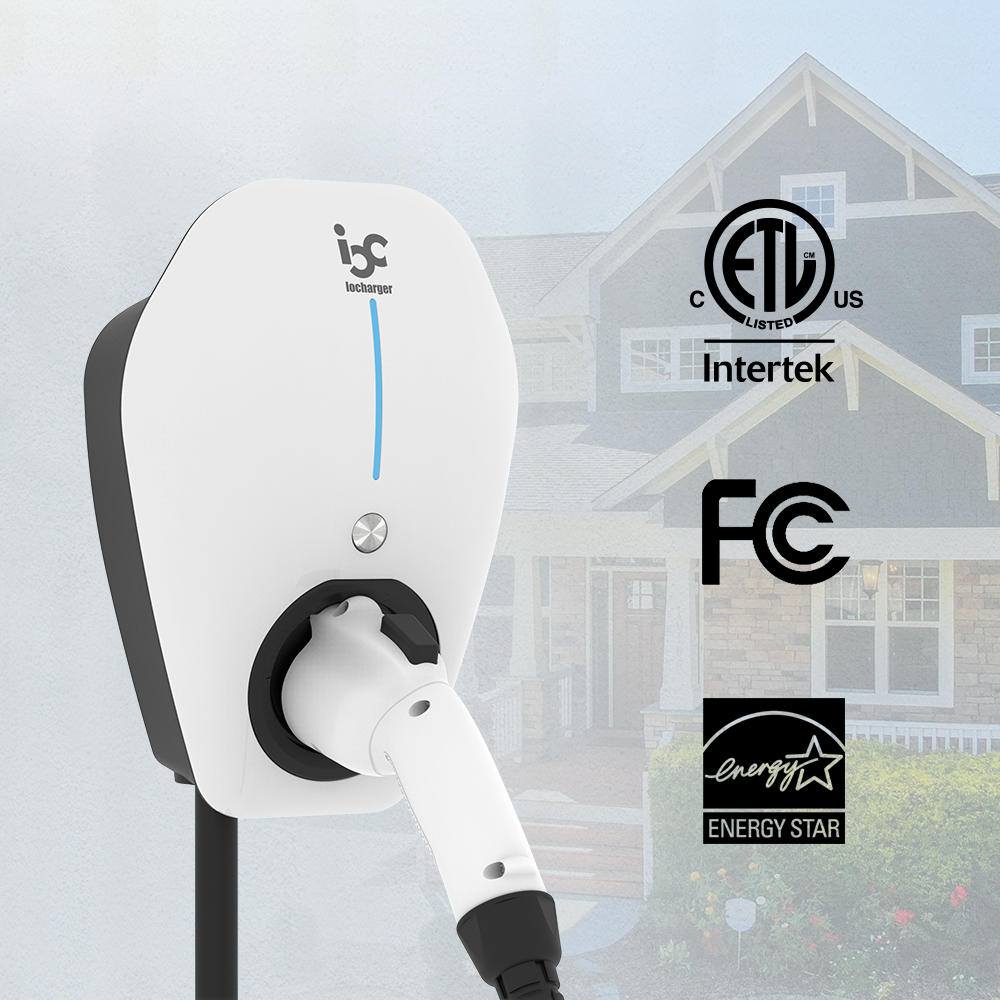
2. Choose the Right Charging Station
Selecting the right charging station is vital for an effective charging experience. Factors to consider include the charger’s compatibility with your EV model, charging speed, amperage, and features like Wi-Fi connectivity and smart charging capabilities. Research different brands and models, and choose the one that best suits your needs.
3. Select an Appropriate Location
Identify a suitable location for your EV charger. Ideally, it should be near your parking area to allow convenient access for charging. Take into account factors such as the distance from the electrical panel, parking space constraints, and any local regulations regarding outdoor charging stations.
4. Obtain Permits and Check Local Regulations
Before any electrical installation, it is crucial to check local regulations and obtain the necessary permits. Certain municipalities require permits for EV charger installations, especially if an electrical service upgrade is needed. Familiarize yourself with local codes and regulations to ensure compliance.
EV Charger Installation Process
Once you have completed the EV charger installation preparations, you can proceed with the following steps to install your EV charger:
Step 1: Turn Off the Power
Before beginning any electrical work, ensure your safety by turning off the power to the circuit you will be working on. Locate the main electrical panel in your home and switch off the corresponding circuit breaker.
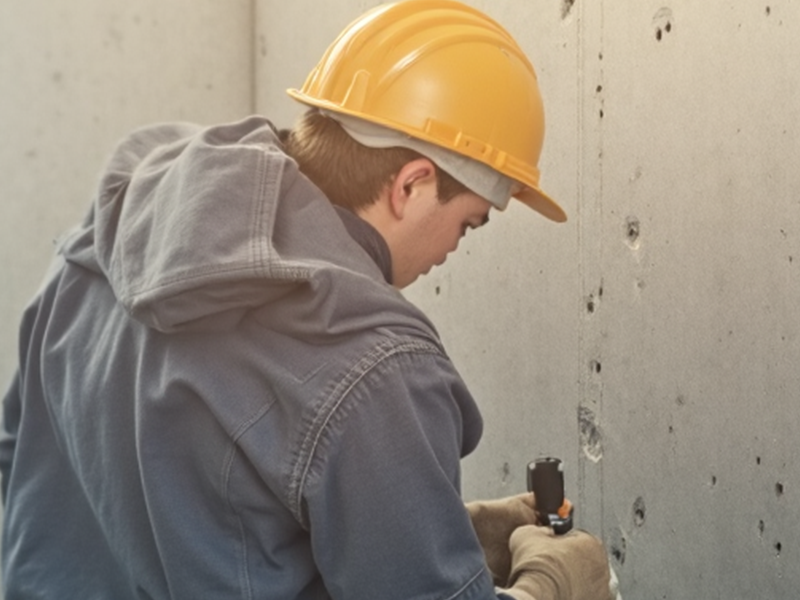
Step 2: Mount the Charging Station
Choose a secure mounting location for your charger and attach it to the wall or a suitable structure using the provided mounting bracket. Ensure that the charger is positioned at a comfortable height and is easily accessible for plugging in your EV.
Step 3: Install a New Circuit Breaker
If your electrical panel does not have an available circuit breaker slot, you may need to install a new breaker specifically for the EV charger. Consult with a licensed electrician to determine the appropriate amperage for the circuit breaker based on the charger’s specifications.
Step 4: Run Electrical Wiring
Run the required electrical wiring from the electrical panel to the location of the EV charger installation. The recommended wiring size is typically specified in the charger’s user manual. To ensure safety and compliance, it is strongly recommended to hire a professional electrician to handle the wiring installation.
Step 5: Install the Charger
Connect the wiring to the EV charger according to the manufacturer’s instructions. Most chargers have clearly labeled terminals for the line, load, and ground connections. Ensure proper tightening of the wire connections to deliver a secure electrical connection.
Step 6: Grounding and Bonding
Proper grounding and bonding are essential for electrical safety. Install a ground rod if required, and connect it to the charger’s ground terminal. Consult a qualified electrician to ensure proper grounding and bonding practices in accordance with local regulations.
Step 7: Test the Charger
After completing the installation, turn on the circuit breaker and test the charger to ensure it is functioning correctly. Verify that your vehicle can properly connect with the charger and charge without any issues. Refer to the charger’s user manual for specific instructions on testing and troubleshooting.
Step 8: Obtain Electrical Inspection
To ensure compliance with local regulations and to guarantee the safety of the installation, schedule an electrical inspection with the appropriate authority. A licensed electrician can guide you through the inspection process and address any concerns or modifications required to pass the inspection.
Conclusion
Installing an EV charger at your home is a rewarding endeavor that enhances the convenience and efficiency of charging your electric vehicle. By following this EV charger installation step-by-step guide, you can ensure a smooth and successful installation process. Remember to prioritize safety by consulting licensed professionals whenever necessary and complying with local regulations. Enjoy the benefits of having your own dedicated EV charger and contribute to a greener and more sustainable future.